


✂️🔧 Upgrade your pet’s gateway with precision and ease!
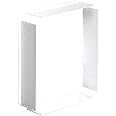
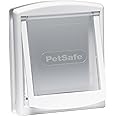
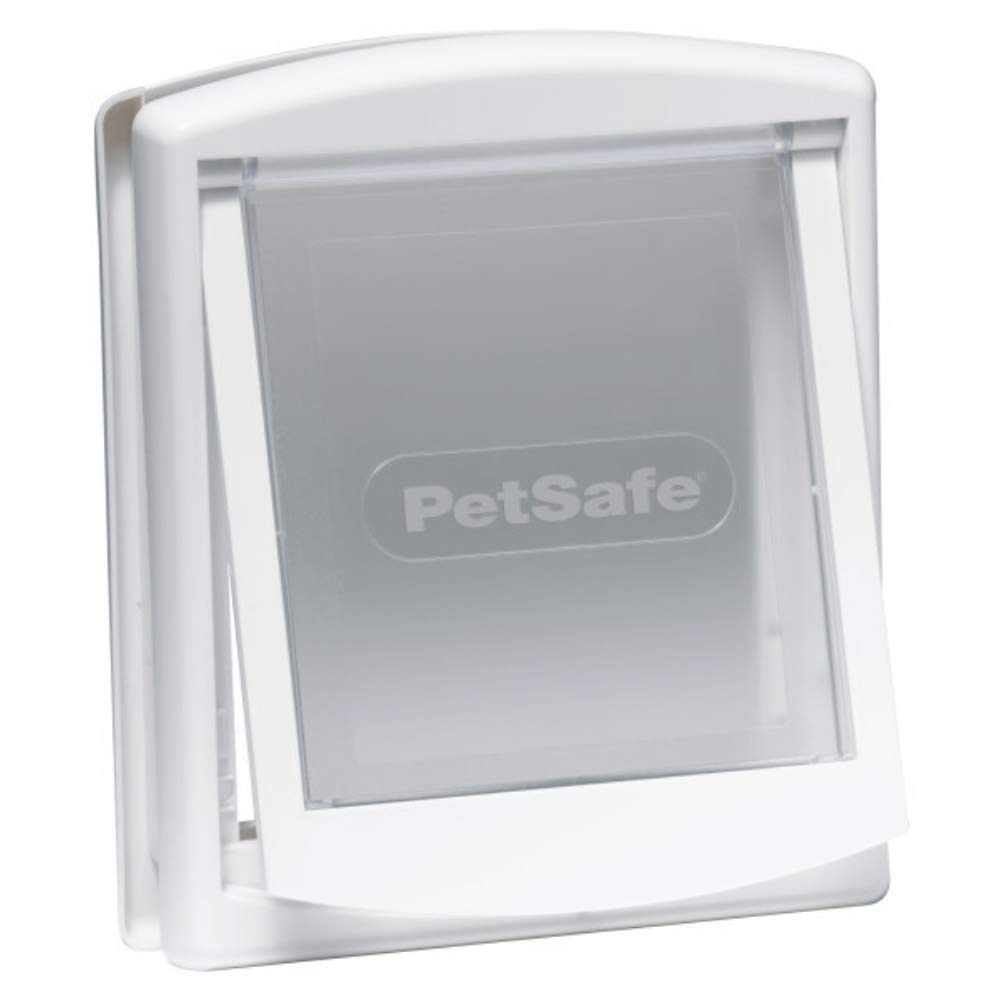
The Staywell PetSafe 700 Series Tunnel Extension adds 50.8 mm to door thickness compatibility, featuring a clip-together design that requires no tools or adhesives. Easily trimmed for a perfect fit, it’s compatible with all 700 Series Small Pet Doors and built to withstand daily use and weather conditions.


| Dog Breed Size | Small |
| Closure type | Clip |
| Mattress thickness | 50 Millimetres |
| Global Trade Identification Number | 05011569110449 |
| Pet Type | Cats |
| Product Dimensions | 2 x 20 x 7 cm; 68 g |
| Item model number | 799WHITE |
| Maximum Weight Recommendation | 7 Kilograms |
| Number of Items | 1 |
| Quantity | 1 |
| Special features | Weather-proof^Easy to Use |
| Specific Uses | Daily Use^Suitable for Adult pets^Suitable for Young pets |
| Batteries required | No |
| Batteries Included | No |
| Item Weight | 68 g |
M**.
Easy to fit. (with a long step by instructions)
1. Measure the thickness of the door you wish to place the catflap into.2. Cut tunnel pieces along the grooves with kitchen scissors to the thickness of the door (Carefully).3. Assemble the tunnel frame (lining it up with the lugs on the tunnel and holes on frame) and attach it to the outer part of the catflap (you can use glue but it's not essential).4. Mark in pencil the outside shape of the tunnel frame on the outside of the door ( make sure that the outer frame is high enough to clear the frame on the door).5. Cut a hole in the door and slide tunnel into the hole. Mark holes for screws (on the outside of the door) and drill the hole marks.6. Place inner part of the catflap, (so slit for flap locking barrier is at the top) on the inner side of the door. Slide bolts into holes until they protrude through the outer catflap holes (depending on the thickness of door you may need to buy longer bolts) and place nuts onto bolts (nuts go on the outer frame between the raised lines).7. Do the nut and bolt finger tight and line up the inner frame so that it's lip sits within the tunnel sides then tighten screws and line nut up with the two raised lines either side of the nut on the outer frame ( this will stop nut turning when tightening screw).8. If necessary, cut the screw thread so the outer flap can close ( WARNING if you use a Dremel type cutting wheel the grinding will make the screw and nut hot enough to melt the plastic so do a little off of each screw at a time). 9. Stand back and admire your work ( push flap in and out to make sure of free movement) and you're done.
F**S
Good item
Good idea just fiddly. But I definitely recommend
A**_
Perfect tunnel extension for cap flap
So easy to install, good quality. Sizes on the spec were spot on so fitted like a glove. Tidy appearance. Would definitely recommend as looks so much tidier than a brick or would surround. Easy to wipe and keep clean when pet comes in wet.
C**D
Some UP arrows would be nice
Yup I got it all assembled with the cat flap and screwed into the door and then realised that the tunnel had an up and a down. So, take it all apart., re-drill the holes for the screws, put it all back together again. It was lucky that I didn't glue it as recommended, otherwise it would have gone in the bin.
E**Y
Doesn’t fit the cat flap it’s sold with
The cat flap has a template you cut the hole that big, this is then supposed to fit in the hole, it’s too big. If you cut the hole bigger the screws will have nothing to screw into.Waste of money and now I have a hole in my door that is going to get wet on the internals of my door.Had to keep cat flap locked…. Very disapppinted!
L**4
Works a treat
Works great with out cat flap, especially if u have a wide door
H**S
Works well
Needed to install cat flap into wall, works well
T**E
Not the best.
Very fiddly to put in but arrived on time.
Trustpilot
3 weeks ago
2 months ago