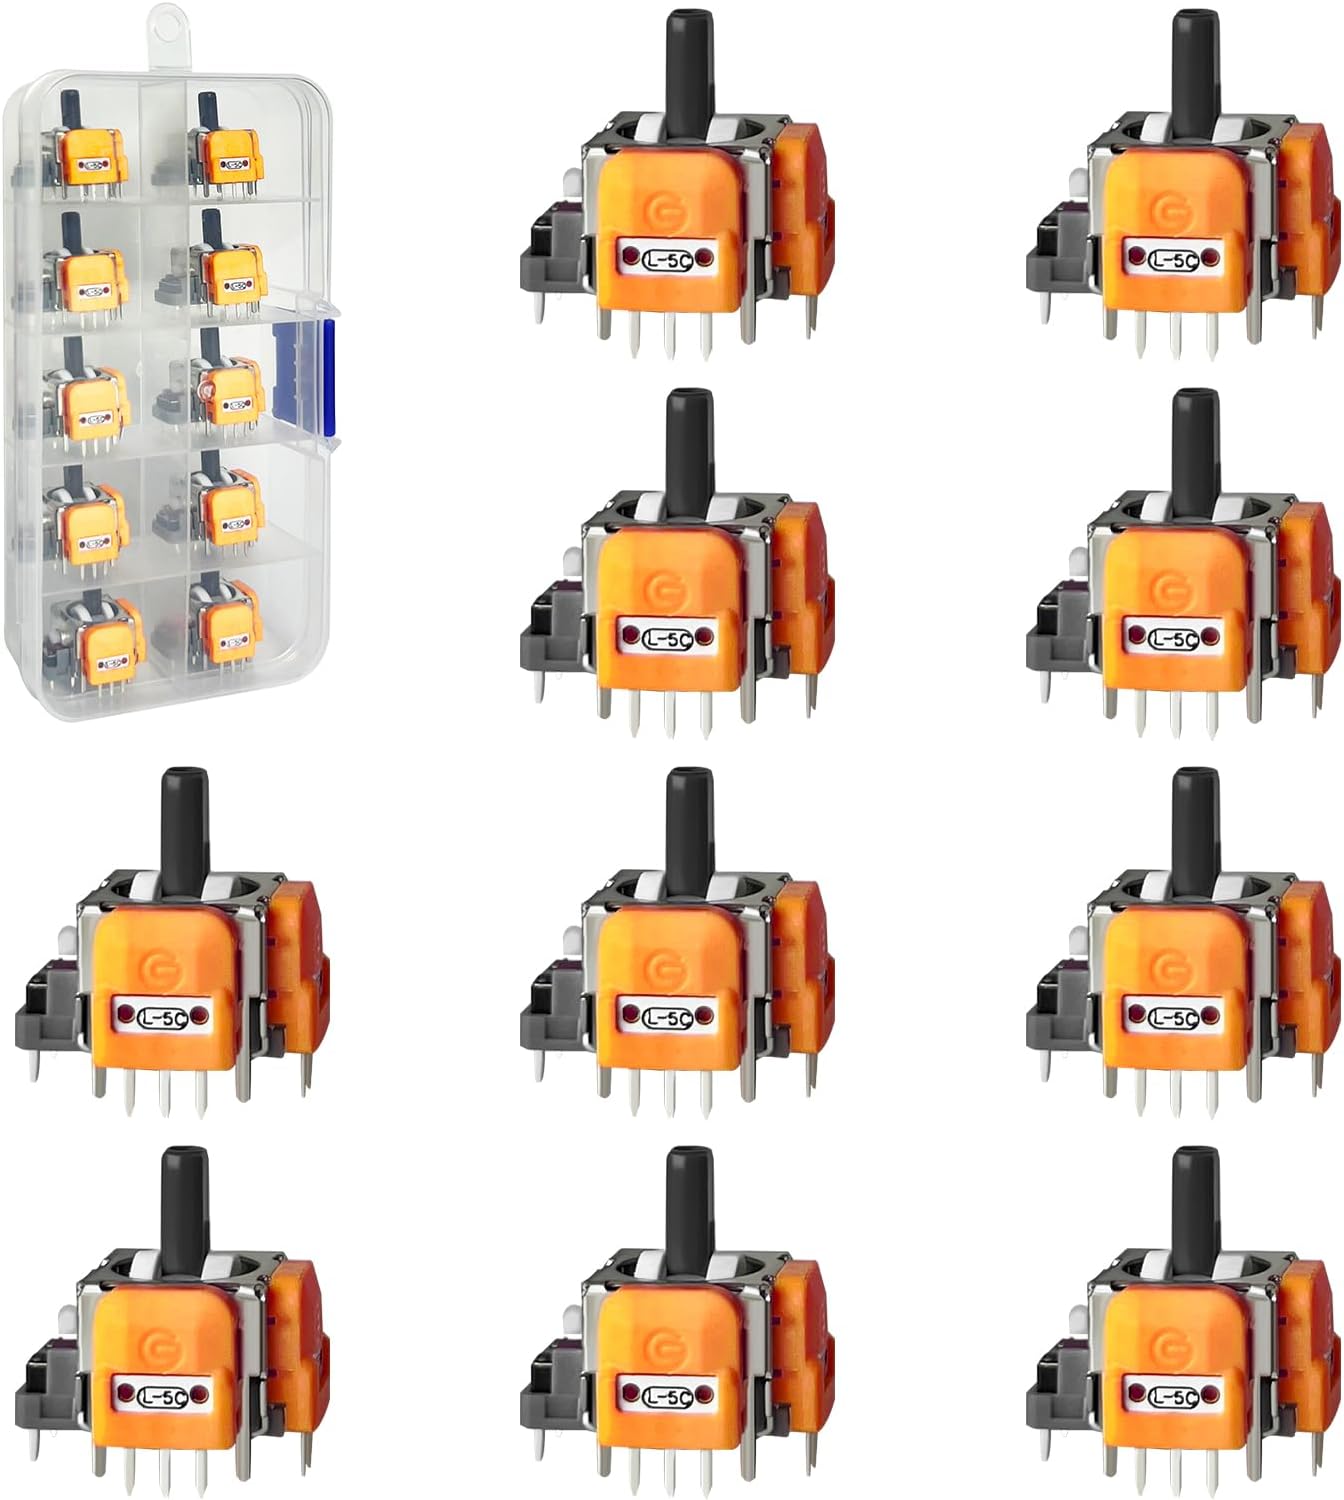
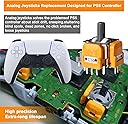
Having just replaced 6(!) of these, across 3 controllers, I can confirm that they work as expected. However, this isn't for the feint hearted. There are 14 solder pads per stick, all or which have to be either heated to several hundred °C at the same time, or tackled in groups, if you separate some of the parts or destroy the old stick. I found an excellent iFixIt video on YouTube which tackled exactly this. At this point, I should also probably add that I'm used to working with things like this and actually have a full set-up to handle problems like this. I took to mixing various techniques and adding a load of lower melting point temperature solder, to produce an alloy with a much lower melting point than the lead free solder used during manufacture, making it easier... 1) Add a small amount of leaded solder 2) Remove all solder 3) Add a liberal amount of leaded solder 4) Remove all solder 5) Add a normal amount of solder 6) Separate the existing potentiometers from the stick module (they peal off without too much force) 7) Take turns heating 2 legs of each pot at a time and applying force to it in the opposite ditection, to gradually 'wiggle' it free from the board 8) Now with only 8 solder pads per stick left, you can tackle the micro switch which can be freed by the same process. I left it attached and used a solder sucker, but I'd recommend that if you don't care about your old stick module, you cut it into pieces with some wire cutters, to make it easier to proceed. 9) remove the legs of the stick module with the same process. In all, it's a VERY fiddly process, which took me about 1:15 hrs from start to finish per controller, with proper soldering tools, so I'd recommend you bear that in mind, if you're planning on attempting this repair yourself! ALSO, having done the replacement, the controller required recalibration afterwards in software(!), as these modules are not able to be calibrated manually! In short, you need a lot of patience and decent tools, so it's probably a repair best left to people with things like hot air rework stations and desoldering guns!