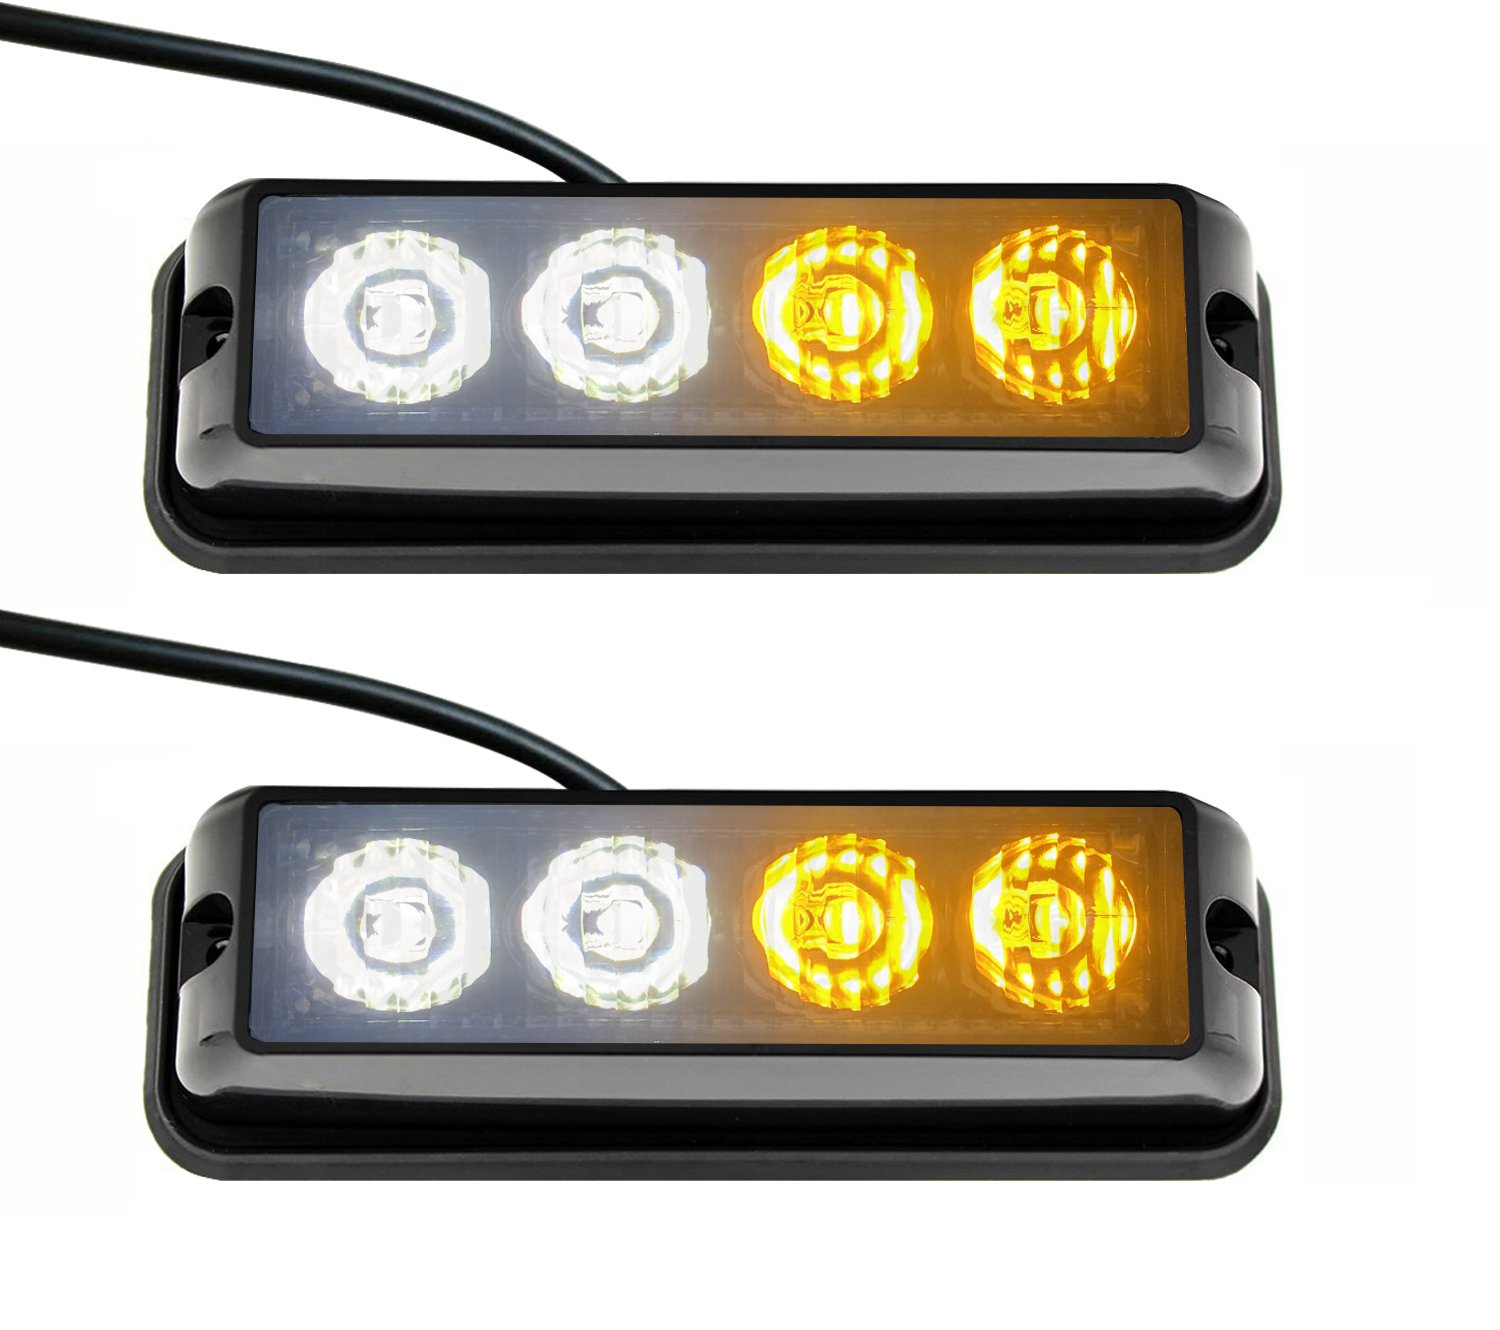


Strobelight Bar: Shining your journeyElectrical parameters Input voltage : 12-24VDC Pattern : 17 functions with memory Waterproof & dustproof rate: IP45 Wire Black wire is for the cathode red wire is for the anode. White wire is for choosing functions, it is called function wire when you want to choose patterns, function wire must be touched the anode of the product. Flash patterns 1. Random 2. Single - Split 3. Double - Split 4. Quad - Split 5. Accelerator - Split 6. Pulse - Split 7. Quad Burst - Split 8. Double/Accelerator - Split 9. Quad/Accelerator - Split 10. Single - All 11. Double - All 12. Quad - All 13. Accelerator - All 14. Quad/Single - All 15. Pulse/Single - All 16. Half Steady - 1 17. Half Steady - 2
T**F
Work great so far
The media could not be loaded. Installation on my Honda NC700X:The LED lights have three wires: red = positive (anode), black = negative (cathode), and yellow = function (may be a different color, mine came with a yellow wire) This is a simple connection to battery installation, no relay was used. And, this is a "constant power" installation--meaning the ignition is not used (lights are connected directly to the battery and have power always).Note: before you install the lights, it would be wise to first set the pattern you want. Connect wiring from the positive wires and negative wires from the LED lights directly to your battery. Then take a spare wire and touch the yellow wires to the positive terminal on the battery. This will allow you to easily set what pattern you want. (instead of installing the lights first and then having to walk around to see each flashing pattern)The installation is fairly simple, there are three wires on the LED lights. Since my installation is just two lights (and they are mounted close together) I routed the two sets of wiring together under my seat. I then twisted the red positive wires together, and likewise the two black negative wires. I also twisted together the two yellow wires (the function) together. (note the function wires are not connected to anything, they only provide a means of changing the flash pattern) I joined the two twisted positive wires with a butt splice and then ran a third wire from the butt splice back to one of the wires on the switch (the switch only has two wires and it does not matter which you connect). I then connected a butt splice to the two twisted negative wires and ran a third wire back to the negative terminal on the battery. That leaves you with one last connection to make: connect the remaining switch wire to an inline fuse and the other end of the fuse wire goes to the positive terminal on the battery. The circuit is now complete. (see pics for more)
D**L
Easy to wire
Pretty good set of strobes. Hard to beat for the price. Do not run these if you do not have permission or the proper licensing to do so. Wiring is pretty easy. Just run a positive, +12V and a ground (you can run it to the frame or body of a vehicle if there is no paint), then change the strobe pattern with the yellow/white wire (you can even do this with a 9V battery instead of using another 12V from the source. This doesn’t require any kind of control module so all you need is a switch to them on or off. I would recommend some sort of lighted rocker switch so you know when it’s on and don’t accidentally ride around with them on. I would also recommend buying a license plate mount and modifying it so you can easily mount without drilling into the vehicle.
B**P
Well built and bright enough.
The media could not be loaded. These are great. Added them to my boys power wheels Jeep. He wanted a police car for his birthday but my yard is better suited for a all terrain vehicle. Boy him a dune buggy instead and h en loves it. But still felt bad about the police car so I put these on his other vehicle. Easy to wire in. Added a on off switch and a momentary button to change the flashing. They are not super bright but pretty good. Connect the black to the negative on the power in. Connect the reds through the switch. The yellow needs to connect to power briefly to change the strob. A little tricky to sync them both. Best bet is to set them independently before you connect them together. Problem now is he wants lights on his other vehicles 🤔
J**.
Brighter than expected - seem to be quality build - good deal and performance for the price
I was skeptical as to the brightness these lights would actually display, I was pleasantly surprised and even impressed. Solid build, seems to be high quality and very bright at night and visible, acceptable brightness in full sun daylight. A good light FOR THE MONEY. I ordered these lights in green as I needed to add them on my golf cart for use as the “command” or “command post” identifier. After trying several other “no brand” lights and sending ALL of them back do to less than desirable performance in brightness, I finally ordered these and kept my fingers crossed. They look and feel just like the name brand TIR lights from Whelen, Code3, STL, Federal etc. Now don’t misunderstand me, these lights are NOT as bright as the name brand models however, for the price they can’t be beat.......at least not that I’ve found. They’re perfect for my need and I’d have no problem recommending them.
H**R
Not very covert, but extremely bright and they do hold their strobe setting
I installed these on the back of my 2017 Jeep Renegade to aid in warning drivers behind me when there is a hazard ahead, for use as a construction pilot vehicle leading heavy equipment around (as I sometimes do) and to fend off chronic tailgaters in areas where tailgating is totally irresponsible. These are extremely bright but also extremely obvious - very difficult to hide that they exist on the back of my Jeep. Use these as a surface mount solution where you can have a strobe that is obvious. If you are hoping to hide these, you would have to sink them well behind the grille and possibly smoke the lenses. I don't know otherwise how you could hide them, they are really obvious to see at the rear of the vehicle and the surface mounting arrangement makes it very difficult to hide behind a grille anyway, since usually there's no surface you can surface mount strobe lights to behind a grille (typically the radiator is back there and you don't want to mount these to a radiator!!!).
G**R
Used On Our Hotshot Trailer
Bought a pair for the rear of our trailer and oboy are we glad we did! Wired them to come on with our parking lights on the trailer rear and used them in darkness & poor weather which was an understatement when we were stopped due to a blizzard outside of Salt Lake City, UT. We were covered in snow and ice, but the amber strobes were still visible through the darkness to keep traffic aware of our equipment. Very pleased with the durability and continued to work in all temperatures and conditions. Happy Customer!
Trustpilot
3 days ago
4 days ago
