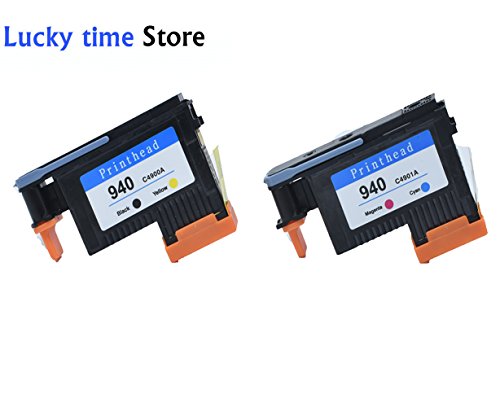
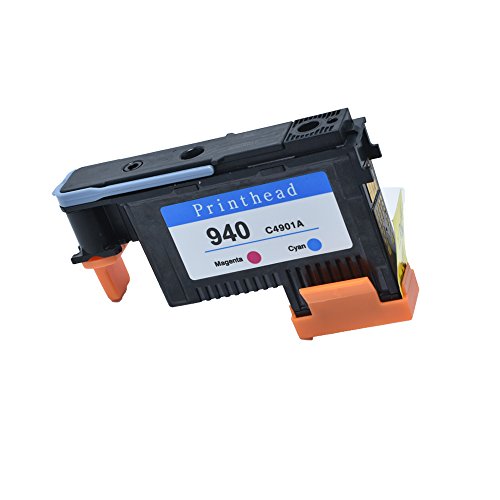
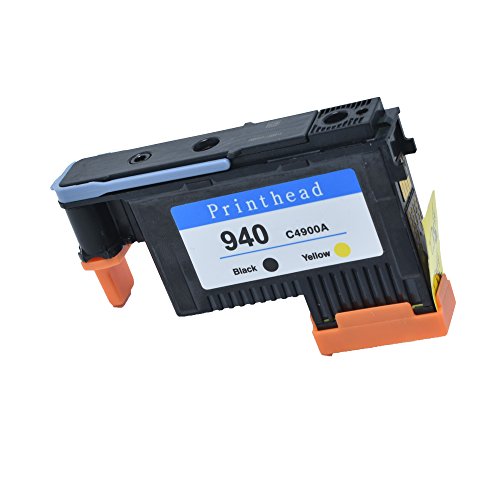


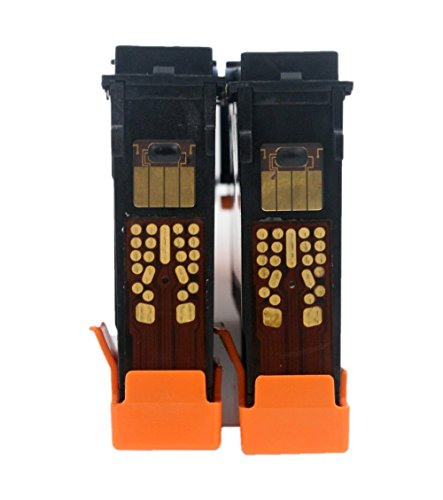
Replacing printheads Follow these steps to replace the printheads in your printer. 1.Press the Power button to turn on the printer. 2.Open the top cover. 3.Press and hold the Resume button until the carriage moves to the left. CAUTION: Be careful not to proceed until the carriage is on the left side of the printer. If the carriage does not move to the left automatically, turn the printer off and back on and then try holding down the Resume button again. The printhead can be damaged if the carriage is not all the way to the left for installation. 4.Lift the printhead latch. 5.Lift the handle of a printhead and use it to pull the printhead out of its slot. 6.Shake the new printhead at least six times while the printhead is still in its packaging. 7.Remove the new printhead from its package, and then remove its orange protective caps. 8.Insert the printhead into its color-coded slot (the label on the printhead must match the label on the printhead latch). Press down firmly on the printhead until it snaps into place. 9.Pull the printhead latch all the way forward, and then press down until the latch engages. 10.Close the cover. 11.The printer should align the printheads automatically in a few minutes, printing an alignment page. If it does not, go to the next section to align manually. ✔ All of our Ink Cartridge are Backed by 1 years money back guarantee,Which covers any quality,reliability and performance issues. ✉ You're welcome to contact us firstly if any problems happen. We will do our best to serve you.❤
Trustpilot
1 day ago
2 weeks ago
