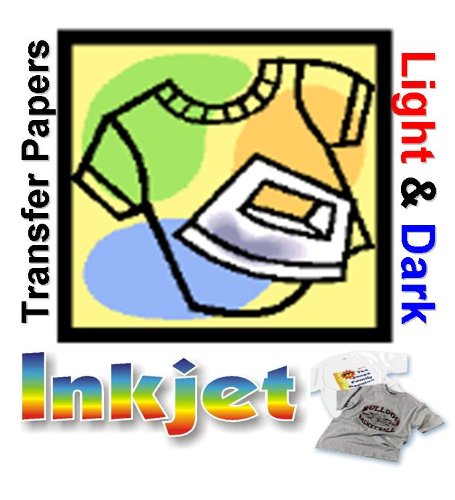
PRINTING & TRANSFERRING INSTRUCTIONS using an Iron 1. Printing and Preparing Image. - The whiter/smoother surface (without back print) is the imaging side of the paper. - Print design on the paper as a mirror image (reverse image). - Refer to printer settings (see below); single-sheet feeding is recommended. - Before printing final image, produce on economy grade paper to test for layout/design. 2. Cut out Design. - Cut out design leaving narrow (1/4"-1/2") margin around edge of the image. 3. Preparing for Transfer. - Heat iron (without steam) to maximum cotton setting. - Fabric should be 100% cotton; iron first if necessary to ensure flatness.- Let fabric cool before ironing transfer image; lay fabric on hard, smooth surface. - Place transfer paper with printed image facing down in desired position on fabric. 4. Ironing/Transferring Image. - Apply hot, dry iron and follow guidelines below for pressure and ironing time. - Iron with straight, non-stop motions from top to bottom and side to side. 5. Peel. - Allow fabric to cool completely, then smoothly and evenly peel away backing paper. - To facilitate peeling, gently fold the fabric near an edge of the transferred image. OTHER INFORMATION • Adult supervision is recommended for children; use in a well-ventilated area.
Trustpilot
2 days ago
1 week ago
